This page explains how teachers can add new students and modify student classes. Please check with your school's portal admin to confirm whether he/she would like teachers at your school to add/modify students.
This page only applies to school/district setups. Teachers from schools set up via Google Classroom, Clever, Classlink, OneRoster API, LTI integration, or Access Codes are not able to add/modify students.
How to add new students
How to modify classes for existing students
How to add new students:
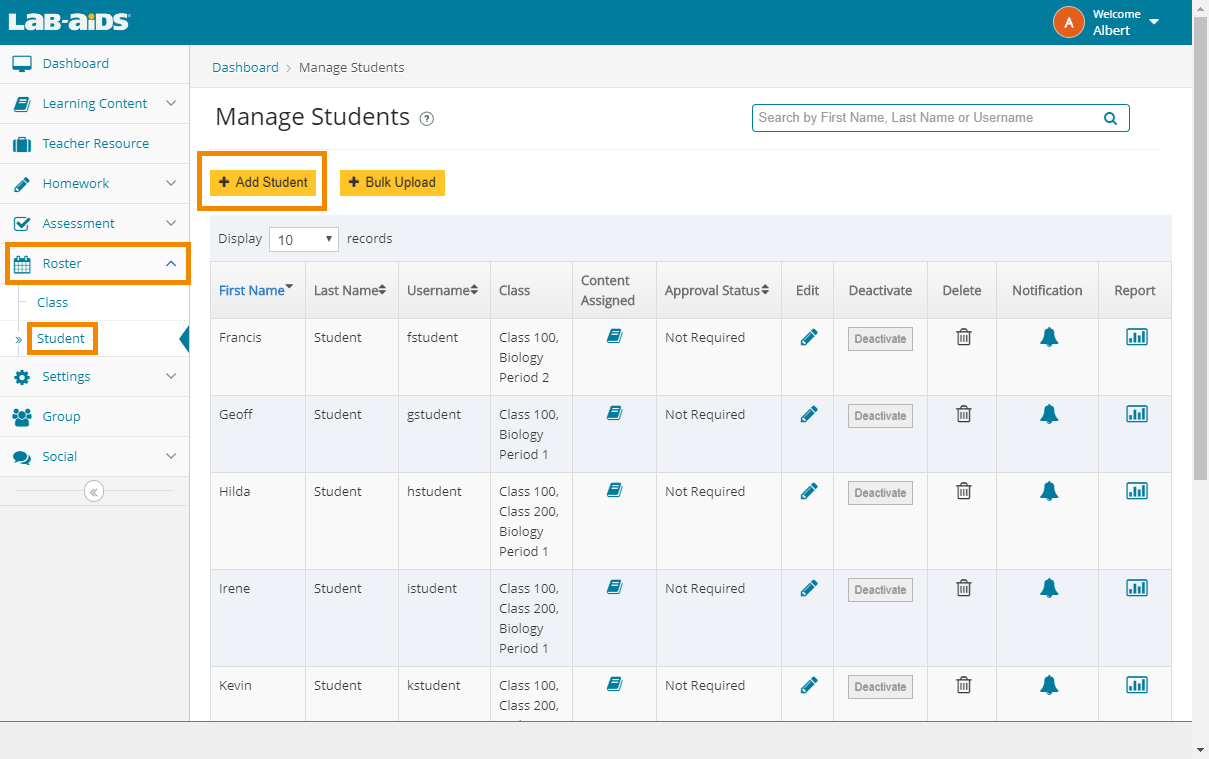
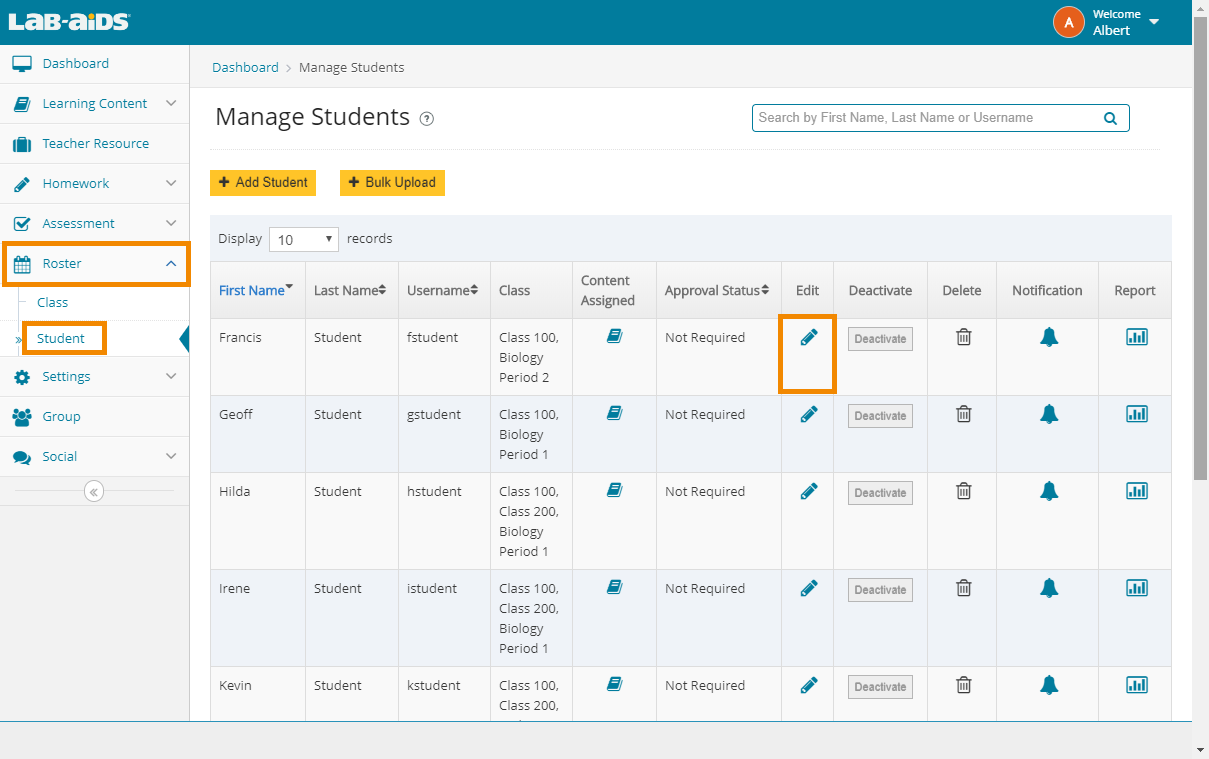
1. Click the "Roster" menu on the left side, and then click "Student". Click "Add Student".
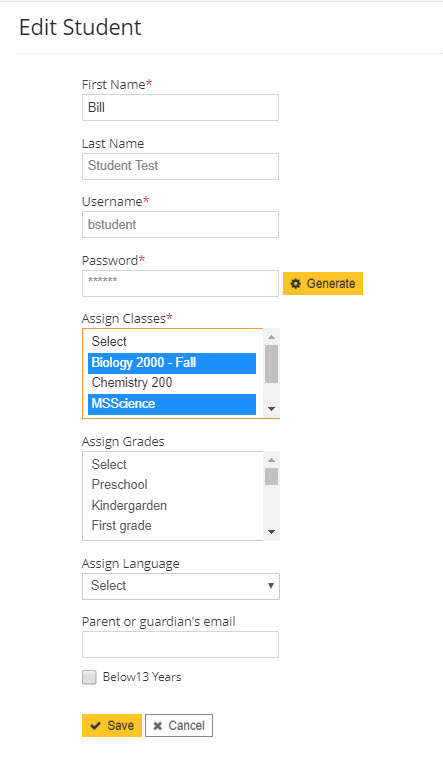
2. Add the information into each field. See below for explanations of each field.
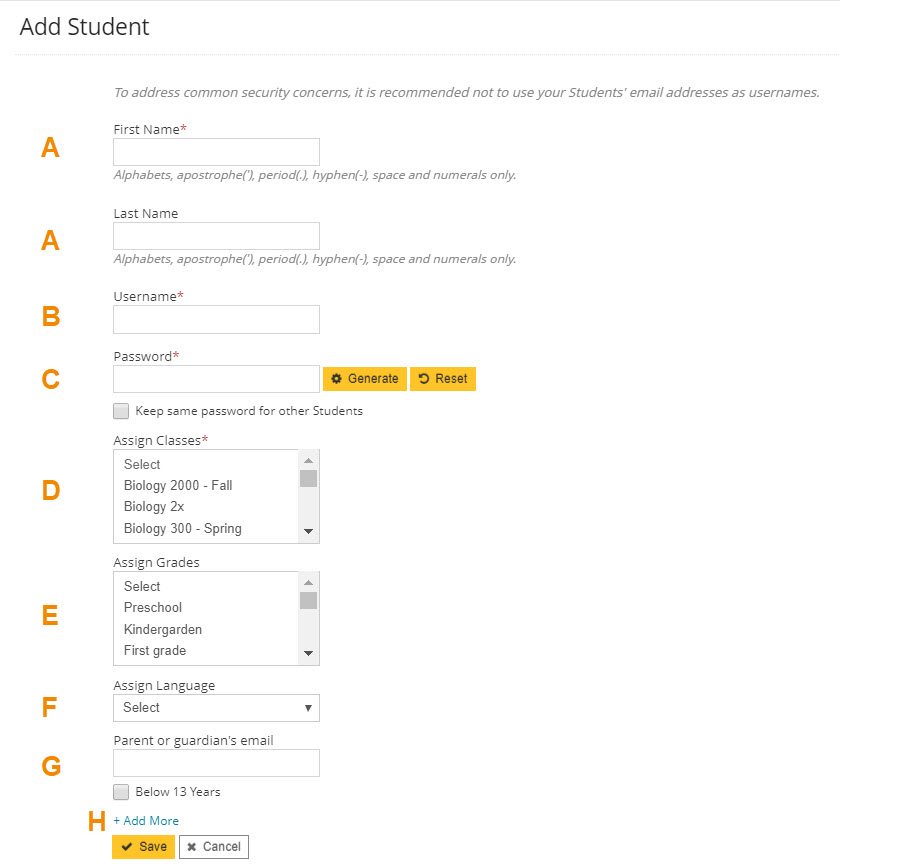
A) Enter first name and last name. Last name is optional.
B) Enter username. Username must be unique. It can be an email address, although it doesn't have to be. Check with your admin for any specific instructions on what to use for your students' usernames.
C) Enter password. Password should be between 6-20 characters. Check with your admin for any specific instructions on what to use for your students' passwords.
D) Select class names from the list to assign to your student. Select multiple classes by holding the CTRL button and clicking each class.
E) "Grade" is optional. We highly recommend leaving "Grade" blank.
F) "User Language" is optional. We highly recommend leaving "User Language" blank.
G) Parent or guardian email / Below 13 years: These are optional fields. These fields exist to help comply with COPPA. If you choose to enter a parent/guardian email, the system will send an email to the parent/guardian email address that the parent/guardian will need to respond to before the student can use the system. If you have another method of complying with COPPA or if you have students over the age of 13, you can uncheck the box for "Below 13 years" and leave the email field blank. Please refer to this document for more detail.
H) Click "+Add More" to add another student while on the same screen.
3. Assign books to the new student.
- The new student will not be able to view books unless you do this.
- Student Content >> Assign Content
- Please refer to this FAQ for How to assign books to your students for more detail.
How to modify classes for existing students:
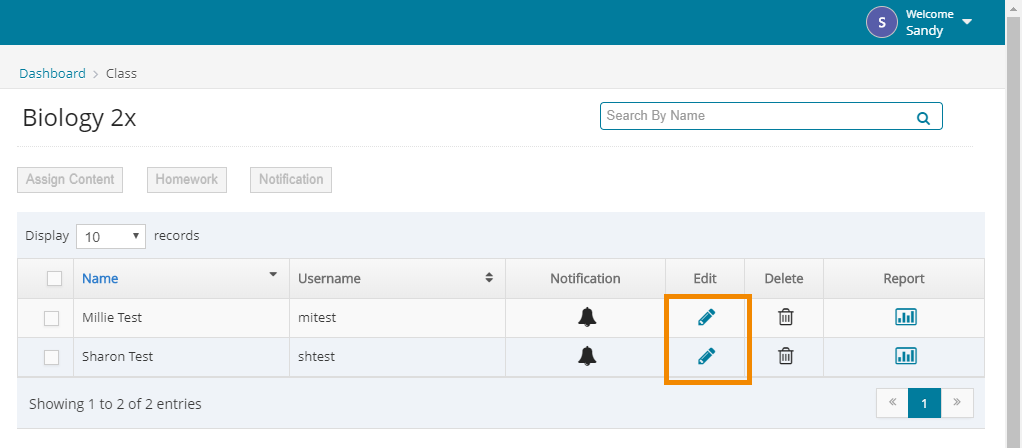
1. Click the "Roster" menu on the left side, and then click "Student". Click the "Edit" button for the student you wish to modify.
2. Modify classes in the "Assigned Classes" section:
- In the "Assigned Classes" section, you will see some classes highlighted. This means that the student is currently associated with these classes. Press and hold the CTRL button (in Windows) or the command button (in MacOS) and click to select/deselect classes. Click "Save".
Helpful hints for modifying student classes:
- If you don't see the student in your Roster > Student screen, it means the admin has not associated you with the class the student is in.
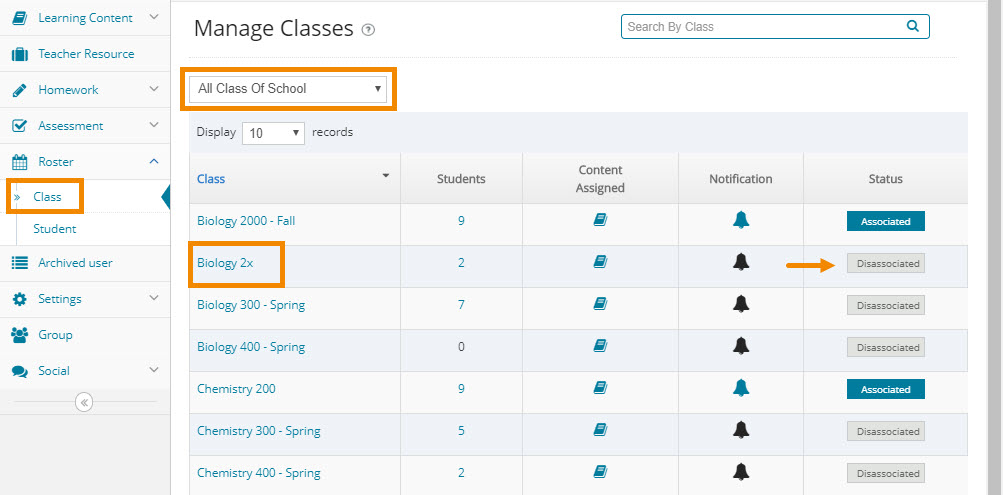
- To modify students that aren't in your classes, you can either 1) ask your admin to modify the student's classes for you, or 2) Go to Roster > Class, and select "All Class of School" from the dropdown menu at the top of the screen. Click on the class title of the class the student is in. You can do this even if you are disassociated with the class. Now you will see the list of students, even if you aren't associated with their class. Click the "edit" button to modify student's classes.
- This will be useful if a student needs to be in your class but was accidentally rostered into another class.